Friday, November 4, 2011

Finally ... Trick-Or-Treaters!!!

Happy  belated Halloween everyone! Sorry for being MIA, but the we haven't done anything of "real" interest the last few weekends. I guess that isn't true because Nikki and I have been working our tails off creating perhaps the best Halloween costumes ever!!!

Coon and Friends - Mosquito, Mint Berry Crunch, The Coon, and Mysterion!!!

We worked our butts off making these costumes, unfortunately they weren't as well received as you might imagine. Being from,and in Colorado, we figured everyone would know who we were, but sadly no! Either way, we were thrilled with our hard work. For Mosquito (my husband Mike) I crocheted his hat, used freezer paper to make a mosquito stencil for his hoodie, and Nikki sewed his sash while I hot glued the ketchup packets for his blood reserve. For Mint Berry Crunch I cut the leaves from felt, dyed 1/2 my white leggings green, and Nikki sewed my hat, berries, and collar. Nikki made her and Matt's costumes, which you can see in more detail at www.theambitiousprocrastinator.blogspot.com. And thanks to Nikki for making all of our masks!

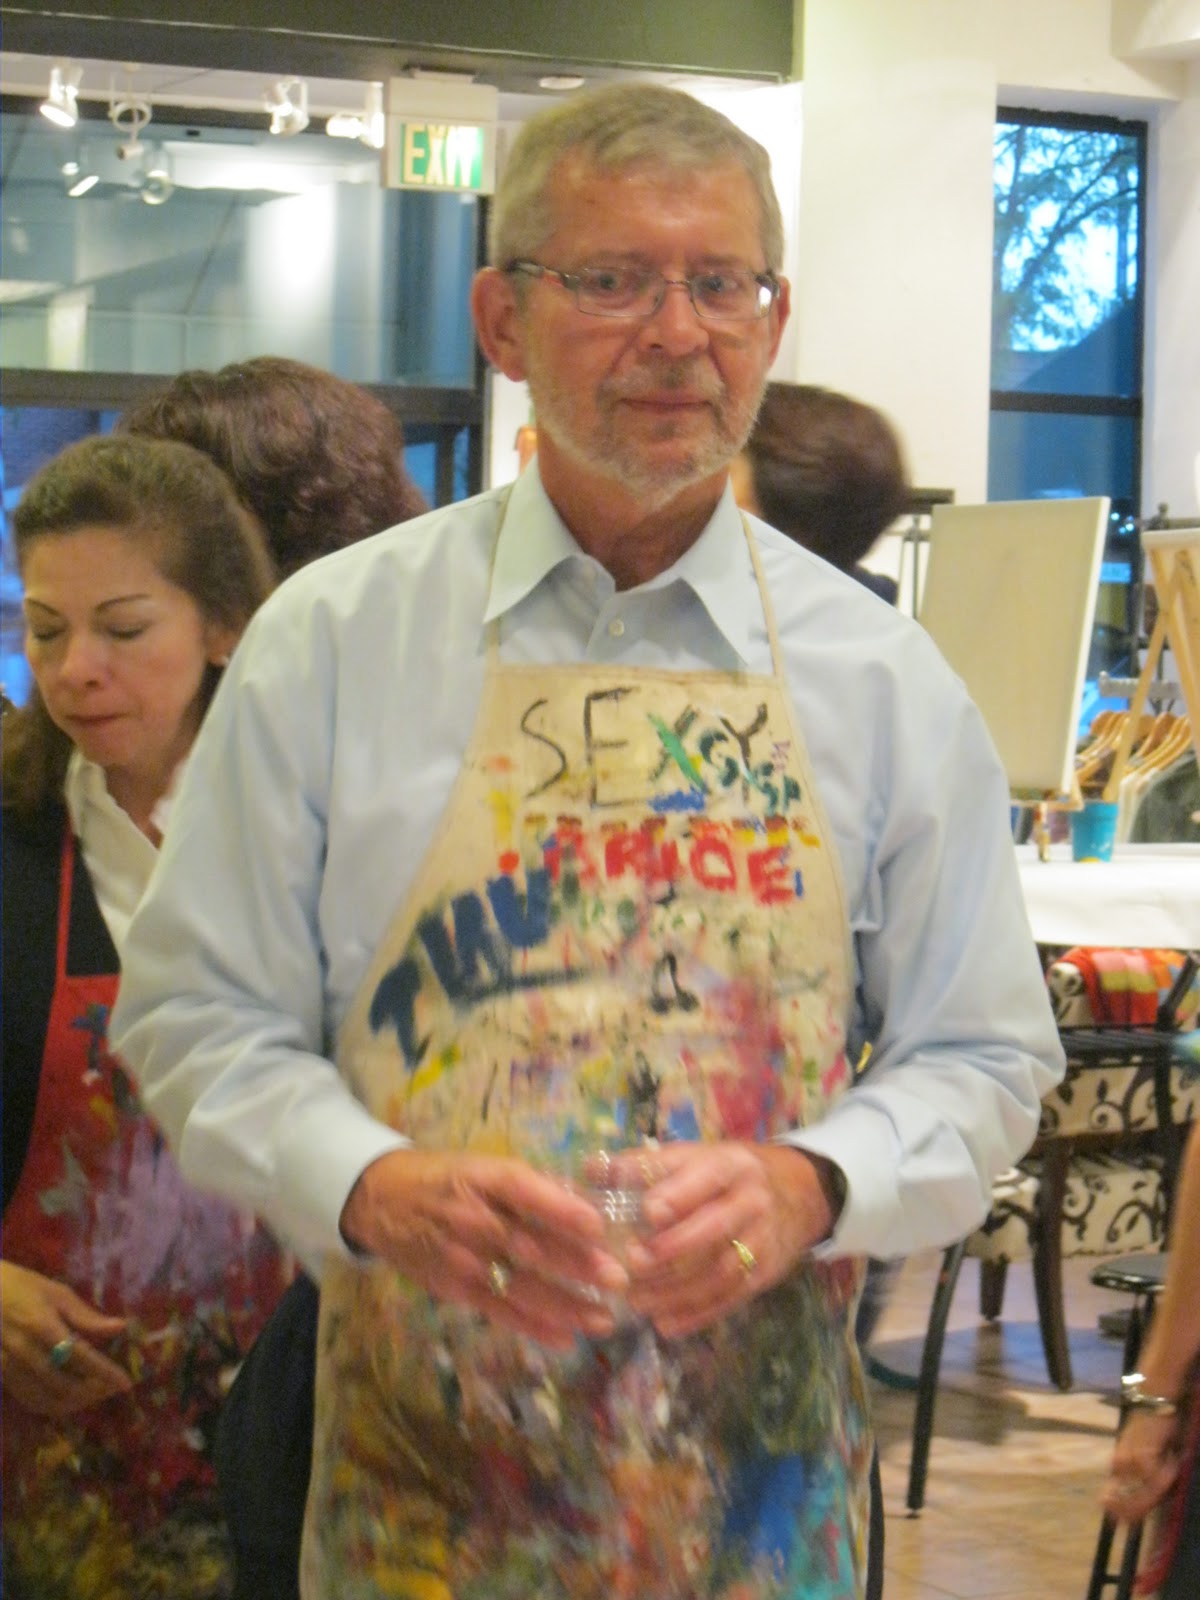
Before I reveal more pics of our fabulous costumes, I want to show you how artistic myself and my friends are. Yes I know, you see how artistic we are every week, but last Friday we were exceptionally artistic :) 

Last year the Savidge's hosted our first ever pumpkin carving get together. It was a hit, and since they just added a little one to their household I hosted this year. In preparation Mike and I made 1 of our 2 a year trips to Walmart. For those who don't know, I HATE WALMART, but unfortunately I find myself there every year at Halloween and Christmas. Anyway, we headed to Walmart to pick up some pumpkins ... 6 to be exact. 

Yes, you can use the boring run-of-the-mill stencils that come with the carving kits, but we had something else in mind ...

Here is a sample of the stencils we used


To make some room, Nikki and I carved out all of our pumpkins (2 for her, and 6 for me). I carved while she scraped out the the seeds for a tasty snack. We made plain, cinnamon and sugar, curry, and spicy pumpkin seeds.

I need to add that my pumpkins from Walmart were mutant pumpkins. Instead of the typical gooey pumpkin innards, they were more like a spaghetti squash inside! Weird!

Right as we finished pumpkin number 6, our guests arrived. After a couple hours of meticulous carving we had these masterpieces:


 Here are some shots of everyone at work ... some people took it more serious than others!


 And here are some individual shots of the ones that Mike and I did:


And here they all are in action on Halloween! This was the first time that Mike and I have ever had trick-or-treaters! We've lived in apartments up till now, which I always thought would be the place to go as a trick-or-treater, but this year we had about 20!


 Fun was had by all! The next day was spent in prep for our evening out. Instead of the normal downtown scene we opted to go to the Colfax Block Party. Just so everyone is clear, this is the definition of a block party according to Wikipedia:


block party is a large public party in which many members of a single neighbourhood congregate, either to observe an event of some importance or simply for mutual enjoyment. The name comes from the form of the party, which often involves closing an entire city block to vehicle traffic. Many times, there will be a celebration in the form of playing music and dance and activities like pony rides, inflatable slides, pop corn machines and BBQs.

We pre-partied for a bit, and then headed out to the block party ... THERE WAS NO BLOCK PARTY!!! Just normal bars, that were packed to the brim. Are we getting old? Cause we decided to head somewhere with a few less people. We ended up back at the Tavern (where I work), and were home before 1am, how sad. To make things even worse, hardly anyone recognized our costumes! We got a couple of shout-outs on Colfax, and some kids recognized us at the Tavern, but overall it was a major bummer! Oh well, we knew we looked AWESOME!!!

Coon and Friends

The Coon in action!

Mint Berry Crunch and Mysterion

The Cupid Shuffle ala Mysterion

The Coon must know when to defend itself!

Mosquito!!!

Keep an eye out in the next couple weeks for my post about my Vintage Ornament Wreath tutorial!!!


Monday, October 10, 2011

Crocheting Frenzie!!!

Mike and I decided to have a lazy weekend, after the jam-packed one we had last week. I was off Friday and decided to do some estate saleing. I picked 4 that looked promising, but they were all pretty much a bust. I did find a few ornaments for my vintage ornament wreath that I hope to complete by Christmas, but it was slim pickins'! Hopefully, once I find enough ornaments I will be able to make something that looks as AWESOME as this

http://retrorenovation.com/2011/09/25/vintage-christmas-ornament-wreaths-the-first-wave-of-georgia-peachez-2011-designs/

I also found a jar of marbles. Marbles? Yes, marbles. Thanks once again to Pinterest, I have found a great project. Unfortunately, this one will have to wait until next year, but I am all ready to make it happen now!

http://gardendrama.wordpress.com/2011/09/17/garden-art-on-the-cheap-diy-glass-marbles-in-your-fence/
Jar-O-Marbles
Saturday we planned to do NOTHING, we watched a bunch of movies, and I did manage to work in some crocheting. I decided to pull from my unfinished project box. Now, lets be clear, this box is not huge, but I definitely need to finish some things in it! Including my Christmas table runner. I have been working on this for about 2 1/2 years, and each year Christmas comes and goes, and the runner goes back into the unfinished box without ever seeing the table. This year though, I am determined to finish it!

I had seen different examples of Filet Crochet online, and I tried a couple of little things, and I decided that I wanted to try something bigger, but I couldn't find a pattern that I loved, so I decided to make my own. The nice thing about filet crochet is that you can basically use any cross-stitch pattern to achieve the look you want, but once again I couldn't find anything I really liked. It was Christmas time, and I decided that I wanted to make a runner. I wanted something that felt vintage, but with a modern twist. Finally, I found this website http://www.myphotostitch.com/ where you can take a picture and convert it to a pattern. BINGO! Now I just had to find a picture I liked. I played around with a few different Santa's, but finally I found this awesome clipart

http://grainedit.com/the-ghost-of-christmas-clip-art/

Next up was to decide on crochet thread, I went with a silver with a metallic thread. FYI - you need a lot of thread to make this runner. I have gone through 8 balls thus far, and will probably need 2 more.

I've found Hobby Lobby has the best selection of crochet thread
You will have to play with your pattern a little to get it the size that you want, but when you're done you will end up with something like this

As you can see, my pattern has been through the ringer!

I've found that it is easy to just cross off each row as you complete it

So I guess you might be asking "What is filet crochet?" Filet crochet gives a much more delicate look, kind of like lace. Essentially, an empty box is a post, 2 chains, and a post. An X is a post, 2 double crochets, and a post. (i.e. post = double crochet). My recommendation is to jump online and get a feel for it, but it REALLY is easy!!!

So here is what I have so far

I used the safety pins to count every 10 boxes in the beginning

I don't know when it will be done, but, doing my best Scarlett, "AS GOD AS MY WITNESS" it will be done before Christmas this year!!!

Sunday, Mike worked all day putting another tap in for our kegorator. So now our nameless bar has both domestic and import drafts ... great. Speaking of our nameless bar, anyone have any suggestions for a name? We thought Camp Ladefoged, Fort Ladefoged ... We want to keep it camp-kitchy!

While Mike was working on the taps, I decided to continue my lazy weekend. I spent the morning looking for patterns, and then I spent the afternoon making this hat for Miss Maddy


http://www.ravelry.com/patterns/library/rose-beanie
Madeline Marie Savidge 10/06/11


I couldn't make one for Maddy without making one for Nixie ...


2 yr old vs. Newborn
Even when I think I'm going to have a lazy weekend someone goes and has a baby, causing me to go into a crocheting frenzie!!! 

So how did you spend the weekend? Any unfinished projects you're working on now? And what should we name our bar?!

Monday, October 3, 2011

An Only In Denver Kind Of Weekend

Thursday afternoon one of my girlfriends at work, asked me to go out with her on Friday night. I told her I felt like I had something planned, but couldn't remember what. Mike and I had planned on heading up to the mountains on Saturday, but I swear I had something planned for Friday night ...

http://www.canvasandcocktails.com/

Oh that's right ... Nikki and I were going to Canvas and Cocktails!!!

C&C is this great Denver based business that combines ... you guessed it ... cocktails and canvas! Each night a different painting is taught. You may be thinking, there is no way I could do that, but the way the class is taught, it makes it so that anyone can achieve greatness! Once you decide on a painting that you want to do, reserve a seat (they go quick!). Arrive early, if you don't you have to sit at cafeteria style tables, with little elbow room, but if like Nikki and I, you arrive early, you can snag one of the few hightop tables for 2 or 3 people. Then, pick out your apron, grab a drink (or a bottle of wine), and get your colors.


Most of the aprons are just covered in old paint, but if you search hard enough you can find one that really suits your personality ...


Here is the painting that we were going to do that evening.


Nikki and I agreed that we would like to change it up some to fit our particular decor. I have decided to go with a Paris theme in the guest bedroom, and I decided on a purple palette to match my new bedding.


We lucked out because it turned out our instructor, Brittney, was the owner. The class is a combination of instruction, dancing, singing, ...  and painting. After 2 bottles of wine, and Nikki winning a free class by shaking her boot-ee, we ended up with some pretty sweet pictures! I wish my Eiffel Tower was better, but we had such a good time, who cares!


In case you think there is no way you can drink and paint at the same time, here is the proof that even drunk, art can be achieved!

More pictures can be seen at www.theambitiousprocrastinator.blogspot.com

My weekend was off to a good start, and on Saturday Mike and I set out for a trip to the mountains. One luxury of living in Colorado is the fall foliage. Take an hour drive out of the city, and you can see some of the most beautiful fall landscapes in the country! We decided to take our normal route, Denver to Grand Lake, through Rocky Mountain National Park, and down through Estes Park. Here are some of the highlights:


In Grand Lake

Beyonce in Grand Lake!


One of the best parts of driving through Rocky Mountain National Park, is the chance to see wildlife, particularly the elk at this time of year. We saw a few here and there on our drive, but not as many as usual. We began our trek home, leaving through Estes Park, when we got stuck in traffic, it had to be a horrific accident right? Nope, turns out some of the local elk had decided to spend the day at the park!


We spent some time watching as a juvenile bull tried to creep his way into the herd of cows. However, his attempts were thwarted by this massive specimen


But I was able to snag some great shots of Mike before we had to run for our lives to get out of the way of the fighting bulls!


 You might be thinking that there is nothing that could make this weekend better ... WRONG!!!


If you want fun then listen to this, Denver's hottest hangout is the Justice League of Street Food Party! Food Truck promoter Fat Damon is back, and this time he has gone crazy! You'll see food trucks, hipsters, fire dancers, beef tongue tacos, bacon cupcakes, and slilts ... You know it's that thing when slutty girls stand on stilts!!!

http://vodpod.com/watch/3625166-snl-stefan#


Fun was had by all!

Phew!!! What a crazy, fun weekend. On top of all of that I was able to sneak in a little estate saleing (see http://thehouseonadamsdrive.blogspot.com/p/weekend-treasures.html), work on my craft room a bit, and scrape this weird blackout film off the glass slider! I know not every weekend can be as jam-packed as this one was, but I love when I am able to get out and see the great parts of Colorado while having a great time with friends!

What did you do this weekend? Does your city do any fun, unique events?


Friday, September 23, 2011

Kitchy Kitchen Art

I wanted to post a little something about the newest addition to my kitchen. I found this idea on Pinterest of course!


My kitchen has an aqua and red color scheme, but you could do this with just about ANY color. This is a cheap craft to begin with, but I think I've come up with some ways to make it even cheaper!


Supply List


  • 2 8x10 frames
  • Set of plastic silver
  • 2 sheets of scrapbook paper (the pattern is up to you!)
  • Craft paint
  • Paint brush/sponge
  • Hot glue gun and glue
  • Scotch tape


Steps

  1. Pop the glass out of you frames
  2. Remove the cardboard backing from the frame
  3. Cut your scrapbook paper to the size of backing (if necessary)
  4. Use your scotch tape (or whatever adhesive you choose) to adhere the paper to the backing
  5. Reinsert the cardboard backing into the frame
  6. Paint your silverware (this may take several coats), be sure to allow drying time between each coat
  7. Once your silverware is thoroughly painted, and dried, use your hot glue gun to adhere the silverware to the covered backing
  8. Hang your Kitchy Kitchen Art!


I know my silverware looks pink, but it's just the lighting ... promise!

Estimated Cost

I purchased all my supplies at Michaels, but I'm pretty sure you could find everything you need at the Dollar Store, which would reduce the cost significantly!


  • Frames (on sale): $4.99 each
  • Scrapbook paper: $1.29 per sheet
  • Paint: $.99
  • Silverware: $1.00
  • Paint sponge: $.39

I had the hot glue gun, glue, and scotch tape; but if you don't, add another $10 to $15 to the overall cost!

What project ideas have you completed on the cheap?